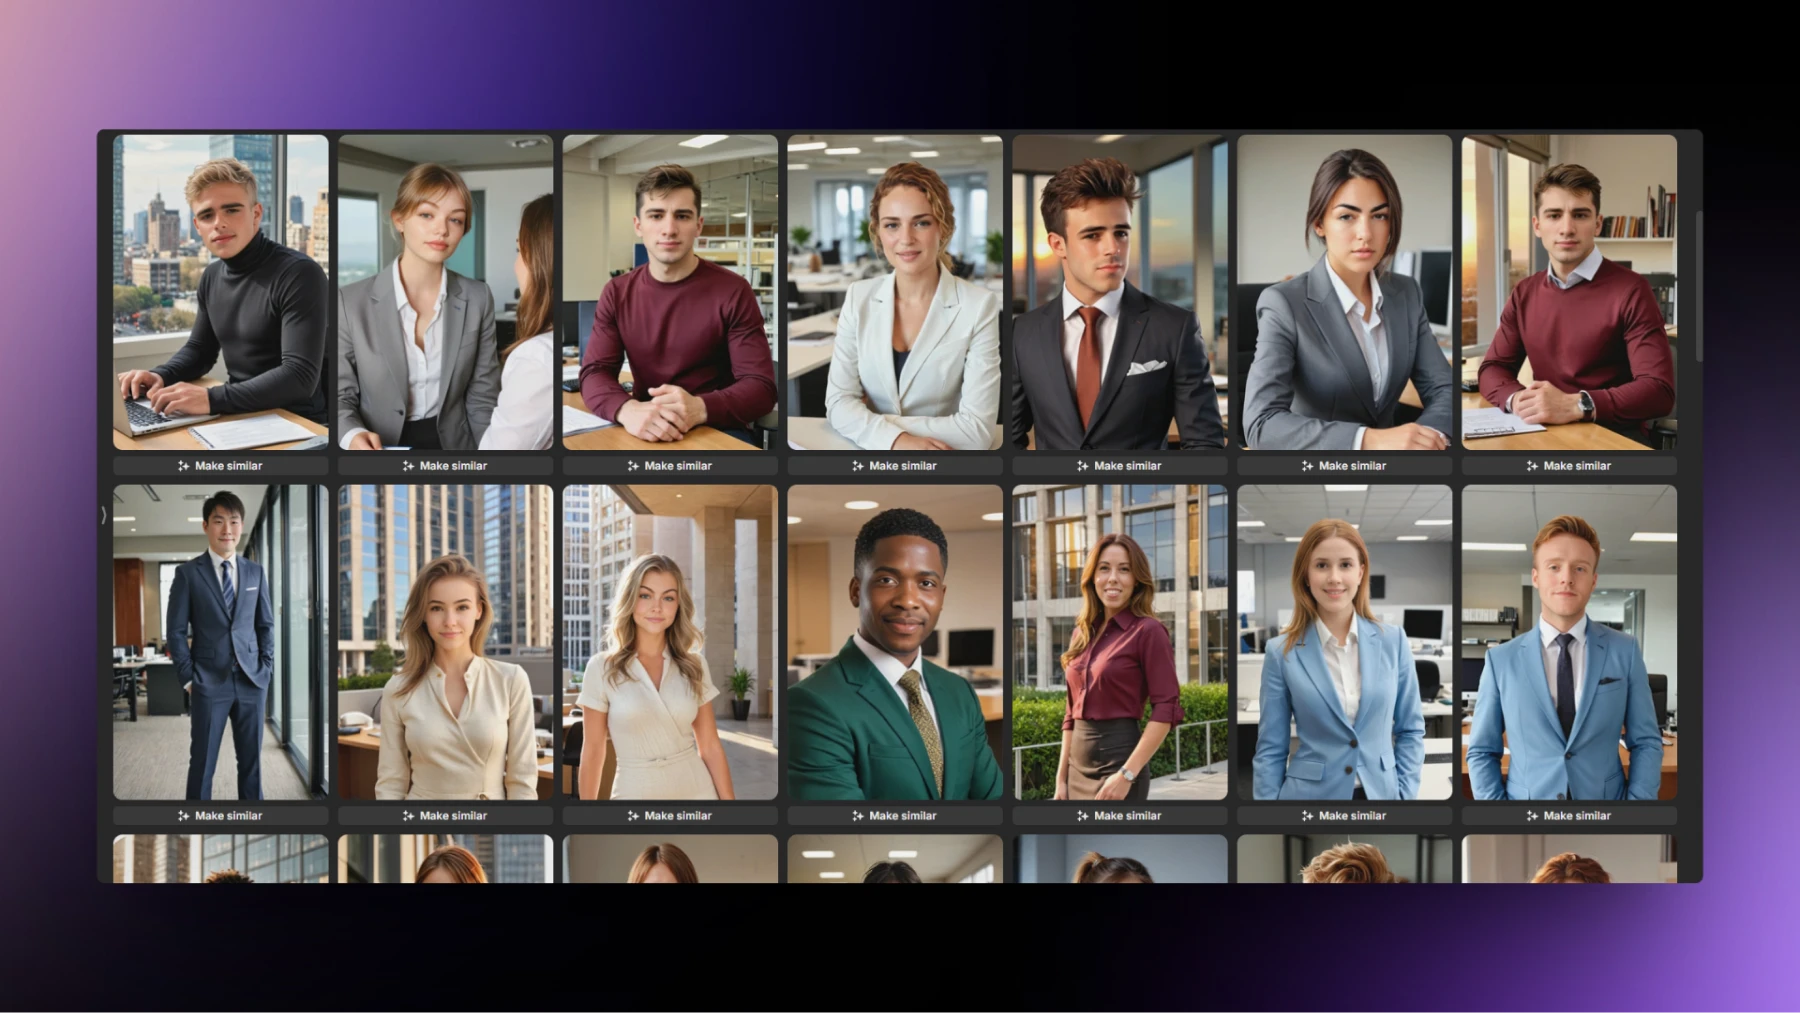
Stop taking LinkedIn photos that scream “unemployable.” Your iPhone can fix this if you know the right settings.
We all know professional photographers charge rent money for headshots. And honestly, when you’re choosing between looking employable and eating this week, groceries usually win. But here’s the thing—your iPhone is basically a professional camera that happens to make calls. You just need to stop treating it like a drunk-selfie machine.
This isn’t another “just smile and use natural light” tutorial. We’re talking actual technical setup, real posing advice that doesn’t make you look like you’re being held hostage, and editing tips that won’t turn you into a plastic Instagram filter victim.
By the end of this, you’ll have headshots that make people want to hire you instead of wondering if you own adult clothes. Let’s fix this mess.
iPhone headshot setup that actually works
Your iPhone is surprisingly capable of professional-looking results, but only if you nail the fundamentals. Most people skip these basics and wonder why their photos look amateur. Let’s fix that.
Lighting: stop looking like you’re in a horror movie
Natural light is your best friend. Not just any light, specifically natural light from a window. Here’s why it works:
What to do:
- Stand 3-5 feet from a large window, facing it
- Use north or south-facing windows for consistent light
- Cloudy days work better than bright sunny ones (natural diffusion)
- Morning or late afternoon light is more flattering
What to avoid:
- Overhead ceiling lights (creates shadows under your eyes and nose)
- Ring lights (you’re not filming a makeup tutorial)
- Direct sunlight (creates harsh shadows and makes you squint)
- Dim lighting (your iPhone will add grain to compensate)
Budget hack: If your apartment has terrible natural light, a 5500K LED light panel costs around $30 and makes a huge difference.
Background: your room doesn’t need to star in this
The goal is to make people focus on your face, not wondering about your life choices based on what’s behind you.
Backgrounds that work:
➡️ Plain white, gray, or beige wall
➡️ Clean, organized office space
➡️ Simple bookshelf (emphasis on organized)
➡️ Outdoor settings that aren’t too busy
Important: Stand 2-3 feet from your background. Too close and you’ll look pasted onto it; too far and your iPhone’s portrait mode gets confused about what to blur.
Quick fix: If your space is messy, hang a clean bedsheet on the wall. It’s simple but effective.
iPhone camera settings for professional-looking headshots
Getting the technical setup right is the difference between “decent iPhone photo” and “wait, this actually looks professional.” These settings matter more than most tutorials admit.
Essential iPhone setup
Use the back camera, always. The selfie camera is a wide-angle lens that makes your nose look like Pinocchio. We’re not doing that to ourselves in 2025.
Portrait mode settings:
- Open Camera app
- Swipe to “Portrait”
- Choose “Natural Light” effect (skip the dramatic studio effects)
- Set focal length to 10 (this creates beautiful background blur without being too harsh)
- Use the 2x zoom (more flattering for faces than 1x)
Why focal length 10 matters. It gives you that professional depth of field where the background is pleasantly blurred, but not so extreme that it looks artificial. Sweet spot for natural-looking headshots.
Camera height = slightly above eye level. This angle is way more flattering than straight-on. Avoid shooting from below (hello, unflattering chin angles) or too high above (weird forehead distortion).
Timer is your friend. Set it to 3+ seconds so you’re not doing that awkward arm-stretch-phone-grab thing.
Focus tap. Tap your face on the screen before shooting. iPhone cameras are smart but not mind readers.
How to pose without looking stiff
This is where most people completely lose it. You can have perfect lighting and camera settings, but if you look like you’re being held at gunpoint, none of it matters. Here’s how to actually look human.
How to pose for a headshot?
The 45-degree approach. Turn your body 45 degrees away from the camera, then turn your head back toward it. This creates natural dimension instead of that flat, driver’s license look.
Chin positioning. Push your chin slightly forward and down. It feels awkward but photographs well. This defines your jawline without looking forced.
Shoulders. Keep them back but relaxed. You want to look confident, not like you’re at attention.
Facial expression that looks natural
For genuine smiles. Think of something that actually makes you happy right before taking the shot. Forced smiles are obvious and uncomfortable to look at.
The slight smile option. Small upturn at the corners of your mouth plus a slight squint (like you’re listening carefully). Approachable but professional.
No smile approach. Slight squint with a relaxed jaw. You look confident without seeming unfriendly.
Breathing tip. Take a breath and exhale before the shot. This releases tension you didn’t know you were holding in your face.
Step-by-step iPhone headshot process
Alright, you’ve got the theory down. Now let’s actually execute this without spiraling into perfectionist paralysis. The key is being methodical without overthinking every single detail.
Before you start
- Clean your iPhone lens (that smudge is ruining everything)
- Pick your outfit (solid colors work best—check out our complete guide on what to wear for professional headshots for the full breakdown)
- Check your hair (one weird strand will haunt you forever)
- Practice expressions in a mirror (yes, really)
Actual shooting process
This is where the magic happens—or where everything falls apart if you rush it. Take your time here. You’re creating something that represents you professionally, so invest the few extra minutes to do it right.
1️⃣ Set up your lighting and background
2️⃣ Position your iPhone at eye level, 3-4 feet away
3️⃣ Switch to Portrait mode, 2x zoom
4️⃣ Set a timer for 3 seconds
5️⃣ Get in position (45-degree body, chin forward)
6️⃣ Take 20+ shots (seriously, don’t be cheap with digital storage)
7️⃣ Review and repeat with different expressions
What success looks like
You’ll know you nailed it when you look at the photo and think “damn, I actually look professional” instead of cringing. Here are the concrete signs you got it right:
- Your eyes are in sharp focus
- Background is pleasantly blurred
- Even lighting across your face
- You look like a competent human being
Editing your iPhone headshots like you know what you’re doing
Here’s where you can save a mediocre photo or completely ruin a good one. The editing stage is all about restraint—think subtle enhancements, not Instagram filter madness. Your goal is “naturally polished,” not “obviously edited.”
Built-in iPhone editing (actually pretty good)
Basic adjustments that matter:
- Exposure: Brighten without looking washed out
- Brilliance: Adds contrast and makes features pop
- Highlights/Shadows: Balance the lighting
- Contrast: Subtle increase for definition
- Warmth: Tiny adjustment to avoid looking blue/cold
What NOT to do:
- Smoothing filters (you’ll look like a plastic doll)
- Dramatic saturation (this isn’t a music festival poster)
- Over-sharpening (creates that crunchy, fake look)
Apps that won’t ruin your face
iPhone’s built-in editing is solid, but sometimes you need more control. These apps won’t turn you into a plastic-looking social media clone—they’ll just help you look like the best version of yourself.
Meitu: Good editing tools, retouch options, and filters
Lightroom Mobile: Industry standard, free version is solid
Snapseed: Google’s editor, surprisingly powerful
Golden rule. If someone can tell you edited it, you edited too much.
When AI headshots make more sense: practical reality
Sometimes, the smart move is to recognize when DIY isn’t the best path forward.
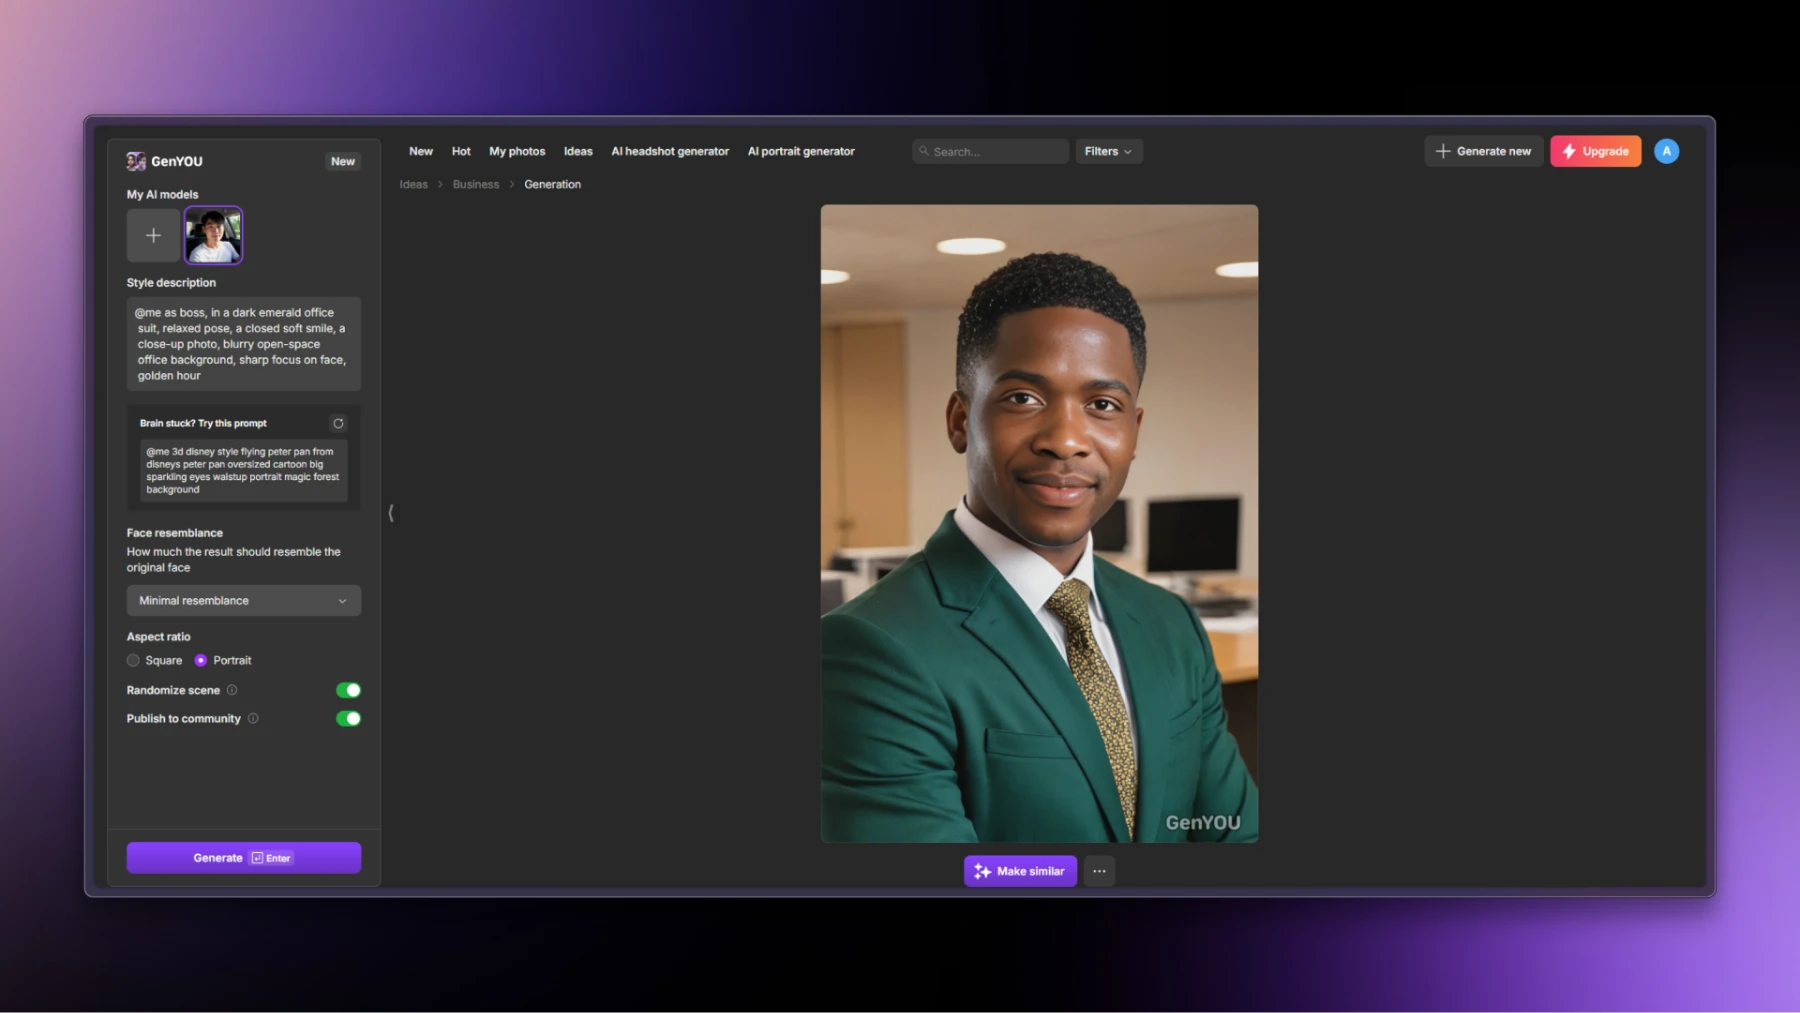
Why GenYOU might be your solution
- You’re perpetually busy and have been meaning to update your profile photo for approximately eight months
- Your iPhone photography skills need work, and watching tutorials hasn’t translated to better results
- You need multiple professional looks for different platforms or industries
- Time management means you’d rather focus on other priorities
How GenYOU actually works
The process is refreshingly straightforward—no complicated setups, no posing anxiety, no wondering if you remembered to turn off all the right camera settings. Just upload, choose, wait, done.
Upload 4 clear selfies (even casual ones work fine).

Choose your professional style (corporate, creative, or approachable professional).

Wait about 20 seconds while AI handles what would take hours of trial and error.

Download your results.

Practical benefits:
- No posing or setup required
- Multiple outfit options without purchasing them
- Consistent professional quality
- Uses your actual facial features
When AI makes sense over DIY:
- You’ve tried iPhone headshots with limited success
- You need results quickly
- Professional photographers aren’t in your budget
- You want variety without multiple photo sessions
Common iPhone headshot fails (and how to avoid them)
Let’s talk about the elephant in the room—all the ways this can go spectacularly wrong. Learning from other people’s mistakes is way less embarrassing than making them yourself. Here are the most common disasters and how to dodge them entirely.
Technical disasters
Blurry photos: Use the timer, brace your phone, and tap to focus
Bad cropping: Leave space above your head and below your shoulders
Wrong orientation: Shoot vertical for social media, horizontal for websites
File quality: Shoot in the highest resolution, resize later
Styling catastrophes
Your outfit can make or break the whole vibe. It’s not about having expensive clothes—it’s about understanding what works on camera and what makes people question your judgment.
Distracting outfits: Solid colors > patterns that make cameras cry
Wrong formality level: Match your industry’s vibe
Visible bra straps/tags/wrinkles: Check everything before shooting
Outdated styling: This isn’t 2015, update your look
Expression fails
Your face is telling a story in that headshot—you just want to make sure it’s the right story. The wrong expression can undo all your careful setup work in about 0.2 seconds.
Fake smile: Practice genuine expressions
Dead eyes: Think happy thoughts or slightly squint
Weird angle: Keep your head straight, no dramatic tilts
Mouth breathing: Close your mouth unless you’re mid-laugh
Platform-specific iPhone headshot tips
Different platforms, different rules. What works for LinkedIn might look weird on Instagram, and your corporate website probably has different vibes than your personal brand. Here’s how to optimize for each without needing completely different photo sessions.
LinkedIn Optimization
- Size: 400x400px minimum, 7680x4320px maximum
- Crop: Chest up, face takes up 60% of frame
- Vibe: Professional but approachable
- File type: JPG or PNG under 8MB
Instagram/Social Media
- Square crop: 1080x1080px
- Closer crop: Face and shoulders only
- Style: Can be more casual/creative
- Consistency: Match your brand aesthetic
Corporate Websites
- Higher resolution: 1200px+ width
- Professional styling: Err on the side of formal
- Consistent lighting: Match team photo standards
- Background: Often needs to be removable
Bottom line: your headshot strategy
Your professional image matters more than it should. Is it fair? Absolutely not. Is it reality? Unfortunately, yes.
The hierarchy of headshot solutions:
- Professional photographer: Best quality, highest cost, most effort (wondering exactly how much? Check our breakdown of headshot costs to see what you’re actually paying for)
- GenYOU: Good quality, reasonable cost, minimal effort
- iPhone DIY: Variable quality, lowest cost, moderate effort
Choose your fighter based on:
- Your budget reality
- Time constraints
- Technical comfort level
- How much your career depends on looking professionally competent online
Whether you master your iPhone’s portrait mode or let AI handle the heavy lifting, just replace whatever chaotic energy you’re currently representing yourself with.
Your future career (and LinkedIn connections) will thank you.
Now stop procrastinating and go update that profile picture. The internet is waiting.
About the author
Adeline Knight. Content writer at Icons8. She started as a professional photographer before falling for design. She enjoys experimenting with new tools and uncovering tips and tricks to simplify her life and boost her creativity.